Wednesday, November 1, 2017

Illuminating Hillside

This is my last Four In Art blog post.
The Four In Art group will close it's doors at the end of the year.
It's time to move onto other project and adventures. 
Four In Art has been a wonderful group to be part of 
to explore and develop new ideas with quilting.
I wish all the member of Four In Art all the best 
with their creative ventures in the future.
When one door closes another one opens.
One of my new adventures is designing fabric & quilts for 
Paintbrush Studios.
My first collection will be available in the early spring.
There are a total of 28 fabrics in it.
I can't wait to share more about this new adventure 
as we get closer to it's release date. 


This quarter's Four In Art theme is... 
Illumination.


For this quilt I used.... 
burlap
linen
quilting cotton
upholstery fabric
and....
FOIL.

I thought mixing up the textures would be advantageous.
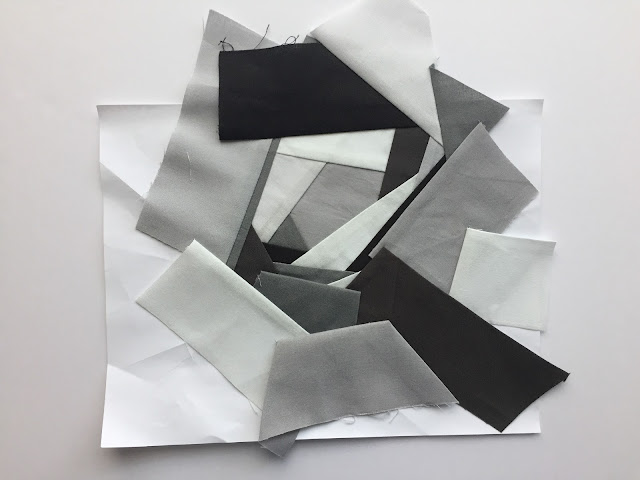
I immediately started to slice and dice the 
fabric & foil without taking any initial photos.
OOPS!
Here's a sampling of my fabric after it was cut it up.   


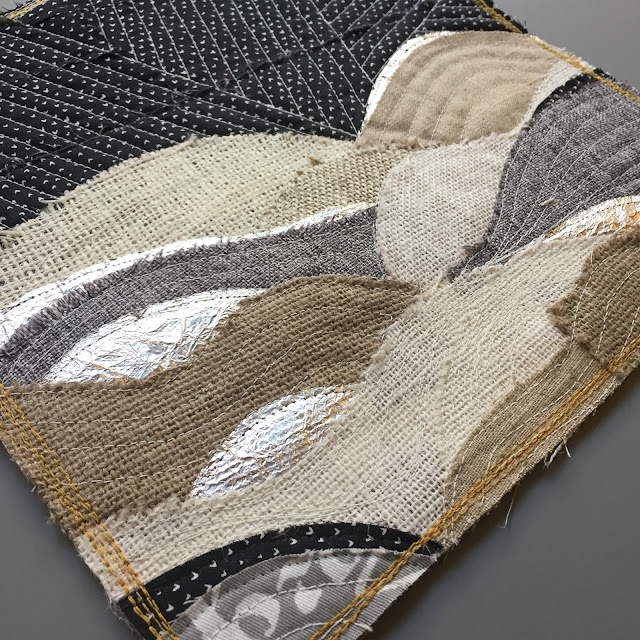
I used glue and pins to secure the hills to the black background.


Here's what it looks like just before I did a little top stitching
with mono fillament. 


The quilt sandwich is ready for quilting. 
Yes, those silver hills are made of aluminum foil. 
I wanted to show how the hills were illuminating in the night sky and 
thought that they should be reflective. 
I looked around everywhere for my silver fabric and
couldn't find it, so...foil was the substitute medium.

I've been using a lot of foil with an applique method I heard about from
Elizabeth at Occasionalpiece-Quilt
Since I already had foil on my work table 
it wasn't hard to incorporate it into the project. 


Then I used GLOW IN THE DARK thread for quilting. 


Illuminating Hillside, Simone Gautier Bradford 2017


Here's a few views of the glow in the dark thread.

So photographing glow in the dark thread isn't that easy.
The thread needs to sit out in the sun for a good 5-10 minutes 
to activate the photosensitive thread. 
Then.......I run like mad with the mini quilt into the 
darkest room in the house, which for me is the laundry room.
Then I take the pictures with my camera while 
I can't even see anything through the lens. 


I raw edge finished the quilt. 
The entire quilt has rough burlap edges that are fraying. 
I figured using non-traditional binding would work since 
burlap and foil aren't traditional quilt mediums anyways. 


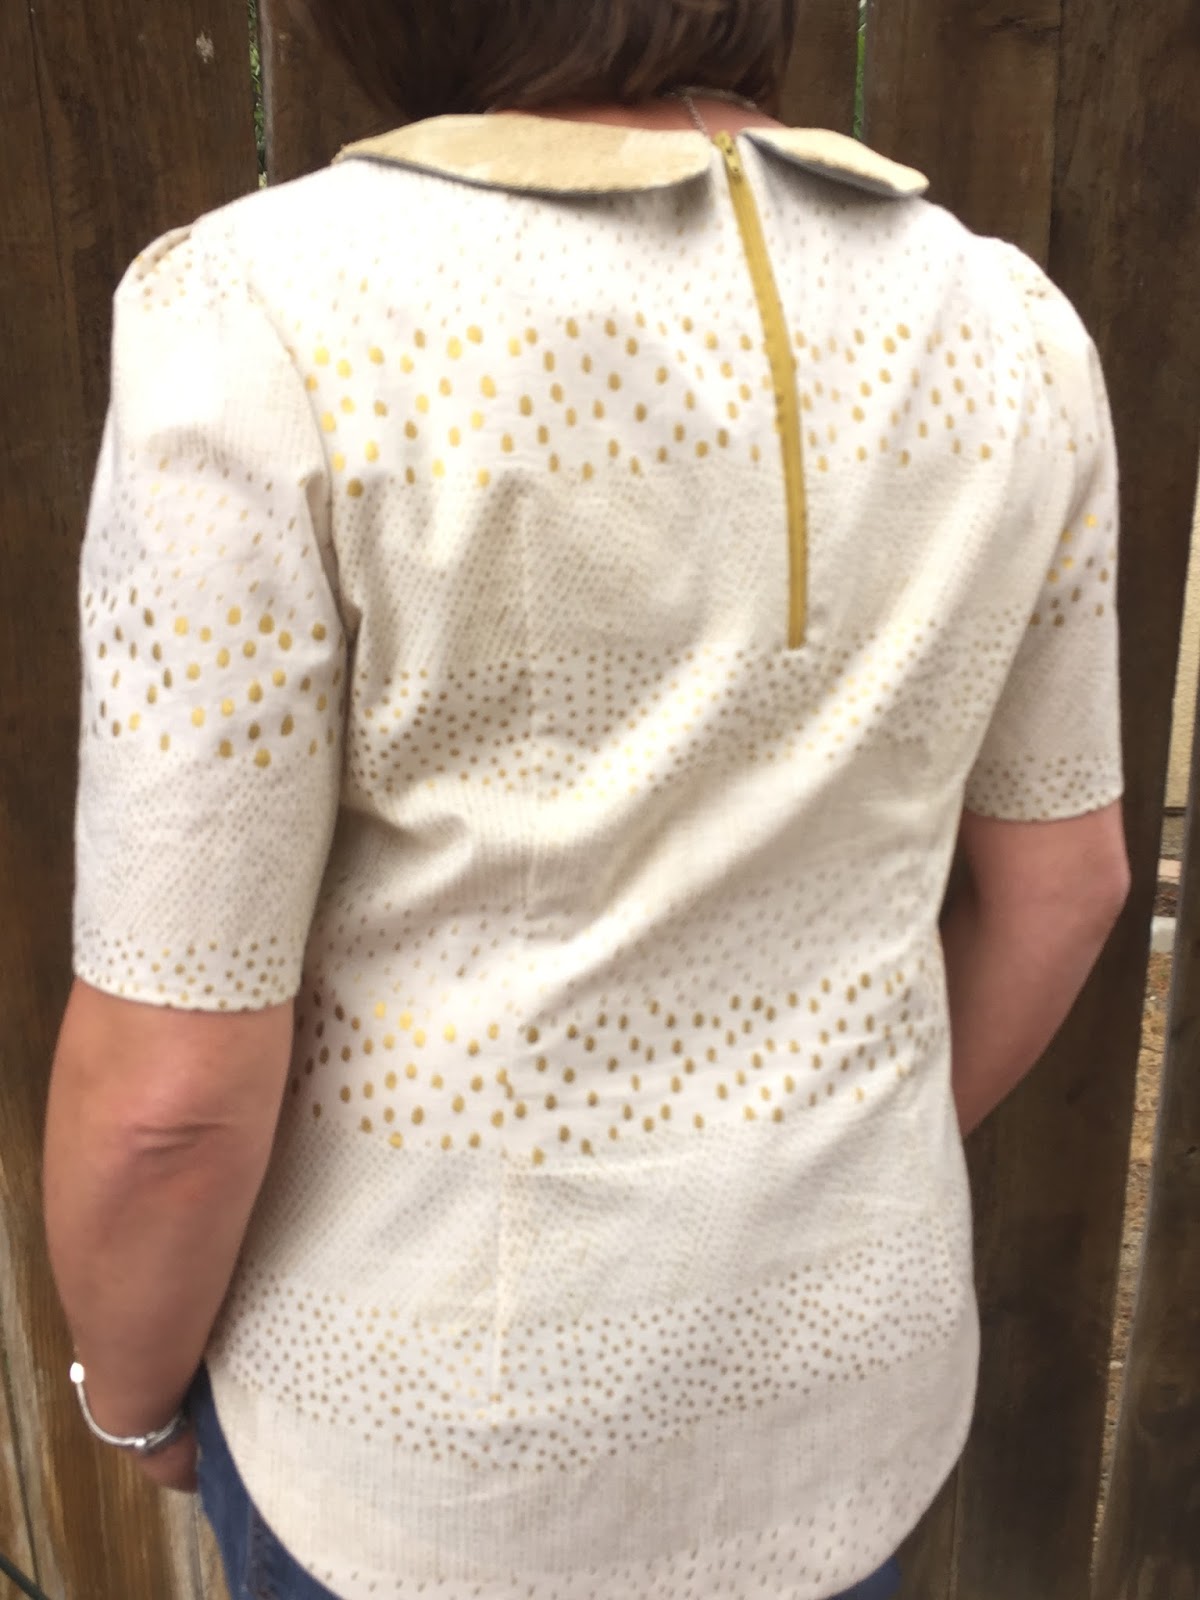
Here's a view of the backside. 
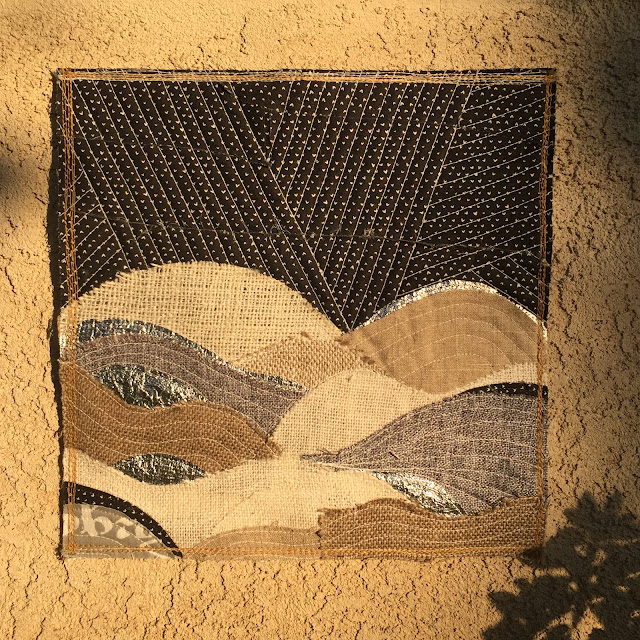

Outside at sunset.

And that's a wrap.


You can view other fabulous Four In Art projects below.

Betty Ayershttps://www.flickr.com/photos/toot2
Catherine Chisholmhttp://www.knottedcotton.com
Elizabeth Eastmondhttp://www.opquilt.com
Janine Greenhttp://www.rainbowhare.com
Nancy Myershttp://www.patchworkbreeze.blogspot.com
Rachel Rileyhttp://www.rachel-thelifeofriley.blogspot.com


Tuesday, August 1, 2017

Four in Art


Welcome! 
This quarter's Four In Art theme is...
Stained Glass Shadows.
I decided to illustrate with gray, black and white glass 
encircled by red "lead". 
I know stained glass shadows are usually full of color,
 but this time around I thought I'd use a range of grays from white to black. 


With each new Four In Art quilt I like to try a new technique.
This time around I tried improvisational paper piecing. 
Here's the first step.


And here's a crummy photo taken at night of what it looks like after 
spending a half hour or so improvising on this little guy.


Ahhh...finally some better light in the morning to
 show off how this first step went. 


And here's the backside. 
I added washi tape over lines that I had to tear while I was still sewing.


Next step I used a compass to cut out a shadow of a round
"stained glass window." 
My 12 year old asked what the compass was?!?!?! 
I have to blame lack of parental example or lame California math curriculum on this one.
(You can't teach how to use a compass when EVERYTHING at school is taught via computer. Using a compass is a hands on activity folks!)
 So..... today my daughter learned how to use a compass. 


Next I made some 1/4 inch bias tape, but it ended up to be 1/2 inch tape.
Then I pinned the heck out of it. 
After making a wedding dress last year for one of my older daughters 
I fell in love with these glass headed pins. 
They are super fine, slightly flexible, and amazingly sharp!


Here's my quilt sandwich.


I decided to quilt this mini with mono filament thread. 
The rest of the photos are taken at night so the 
lighting goes down hill from here on out. 


For the binding I used the backing fabric.
I cut the backing fabric a 1/2 inch from the quilt top
then I ironed and rolled the fabric to the front, 
then pinned and pinned and pinned. 


Ta da! Here's the final Four In Art Project.


You can view other Four In Art projects by clicking the links below. 

Betty Ayershttps://www.flickr.com/photos/toot2
Catherine Chisholmhttp://www.knottedcotton.com
Elizabeth Eastmondhttp://www.opquilt.com
Janine Greenhttp://www.rainbowhare.com
Nancy Myershttp://www.patchworkbreeze.blogspot.com
Rachel Rileyhttp://www.rachel-thelifeofriley.blogspot.com


Thursday, May 18, 2017

Tilly & The Buttons ~ The Orla Blouse

 Yes I had a birthday this year!
My husband was so thoughtful and got a me 
chocolate cake 
and a subscription to Threads Magazine. 
They had an awesome pattern review for 
Tilly & The Button's is located in England.

This is Tilly, isn't she adorable?

Here's Tilly's teaching studio. 
Seeing this makes me want to catch the first flight to England. 

Well...I loved the Orla Blouse and just had to get the pattern. 
They have options for PDF downloads and paper patterns. 
I wanted the real deal and bought a paper pattern, 
yes all the way from England. 

Here's my finished Orla Blouse.
It has some interesting details like the collar for starters. 
The front has lovely partial princess seams too.


The back not only has a zipper but it also has 4 darts. 
Two on the back and two on the top of the shoulder for better shaping.
Sorry this photo is fuzzy, I'll have to speak with my photographer. 


 I chose Japanese fabric for the blouse by Eri Shimatsuka called Pisaraita.
You can purchase the fabric from this Etsy store. 
I purchased my fabric at Road to California, 
and probably paid waaaay too much for it. 


The lace overlay is from Britex Fabrics in San Francisco.
This store is to DIE for. 
They have 4 floors of all things related to sewing.
The 4th floor is my favorite, 
that's where you can get remnant pieces of 
deliciously expensive fabric.


I hand basted the lace overlay onto the collar for stabilization.
I learned this little technique last year when I made my daughter's 
wedding dress. 


 I inserted the zipper with Tilly's incredibly clear & concise instructions. 
The instructions come in the most fabulously designed booklet 
with real photographs and step by step instructions. 
You can find a photo of the booklet below.
They make any other pattern company look sloppy.


This is what I got after clipping all the curves in the collar. 
Doesn't this make the most beautiful confetti?

I used my paper bone folding tool to turn the collar right side out. 

Then I carefully pressed with a silk ironing cloth. 


Here's the completed collar. 
In the background you can see the awesome instruction booklet. 


Here's a few more photographs with the collar attached.
I chose to use a contrast fabric for the underside of the collar. 


Happy sewing! 


Monday, May 1, 2017

Shattered Moon


LIGHT IN THE DARKNESS

is 

this 

quarter's 

Four In Art Theme.


SHATTERED MOON by Simone Bradford


I started off with an idea of inserting a "moon" 
in the the center of my "darkness".  
I used a freezer paper technique. 
Here goes....


First I ironed on the freezer paper and trimmed away the fabric.


Next I snipped the black fabric and glued it to the freezer paper. 
You can see the PURPLE glue around the edge of the freezer paper. 
This is really LAME glue, the color in it fades in about 5 seconds. 
Sometimes you just need more than 5 seconds to get the job done right. 


And now it's ready to have the moon sewn into it.


The moon is made from KONA's 2016 color of the year. 
I did something bad, and forgot to take a photo sewing 
the moon on the the background.
 Fine...ground me.


Next I sliced and diced as I shattered the moon. 


I didn't want the moon to stay round while slicing and dicing so
 I just let it morph as I inserted the strips of fabric.


Quilting arches is a favorite pastime.


I quilted the moon in the center with glow in the dark thread...
Hence the 
LIGHT IN THE DARKNESS. 


The final mini quilt measures 16" x 16". 
The gray fabric on the front of the quilt is actually the 
WRONG 
side of a black on black hexagon fabric. 
I do this frequently. 
No I don't need mental health. 
Sometimes the back of the fabric is just as beautiful as the front. 
 I used gray, yellow and glow in the dark thread on it. 
I cheated and machine sewed the binding on. 
I swear I never cheat at anything else. 


And ta da! Here's the backside. 

You can view other Four In Art blogs below.